Profile settings
About Profile settings
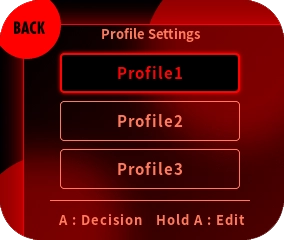
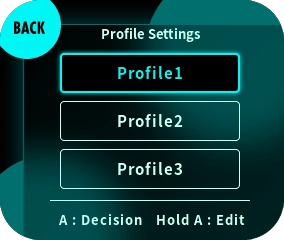
Profiles allow you to save controller settings.
Switching profiles
Select “Menu” → “Profile settings” and select the profile you wish to switch to.
Editing a profile
To edit a profile, select the profile you wish to edit and press and hold the profile name.
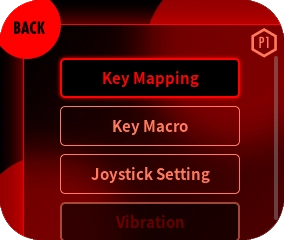
The items that can be changed from “Profile” are as follows.
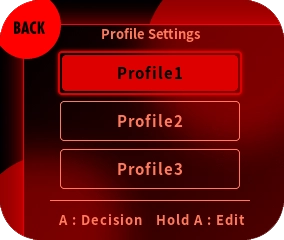
*The background color will change when you press and hold the profile name.
- Settings are automatically saved. The changed settings are automatically reflected in the currently selected profile.
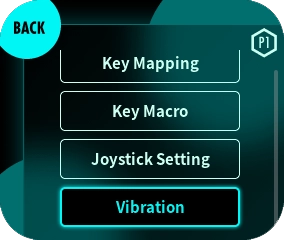
Key Mapping
Key Mappring allows you to change the input when you press a button.
Changing the Key Mappring
Select “Menu” → profile you want to set → “Key Mappring”.
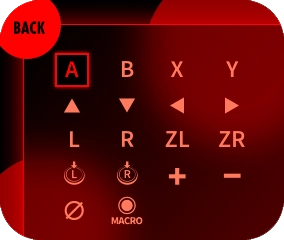
Select the button for which you want to change the mapping.

- The buttons whose mapping can be changed are as follows:
A/B/X/Y/+Control Pad/R/L/ZR/ZL/R stick pressed down/L stick pressed down/+ Button/- Button/M1/M2/M3/M4
Select the input you wish to assign.
- The following inputs can be assigned:
A/B/X/Y/+Control Pad/R/L/ZR/ZL/R stick pressed down/L stick pressed down/+ Button/- Button/ Macro/No assignment
*Macro can only be assigned to M1~M4.
Key Macro
A macro is a function that executes a pre-registered input operation with a single key.
- This function cannot be used in Sports mode.
- TURBO-Z cannot be used in the macro recording screen.
- Macro can be assigned to M1/M2/M3/M4 paddles.
- Please check the terms of use of the game software you are playing before using macros.
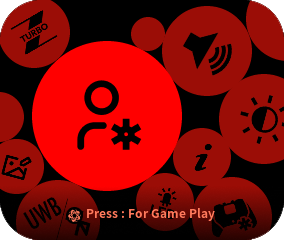
- When a macro is being executed, the “For Game Play” mode will display a mark indicating that the macro is being executed.
- Two or more macros cannot be played at the same time.
- If a macro is started during rapid fire, it will be forced to turn off rapid fire.
Recording a macro
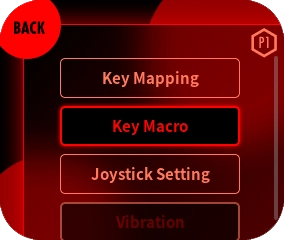
Select “Menu” → profile you want to set → “Macro”.
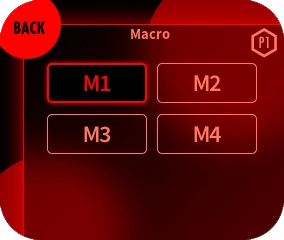
Select the M1/M2/M3/M4 paddle for which you wish to record a macro.
If you are recording a macro for the first time, go to ③.
If you have already recorded a macro, go to step ⑤.
▼ When recording a macro for the first time
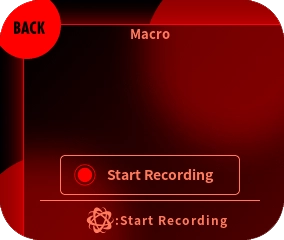
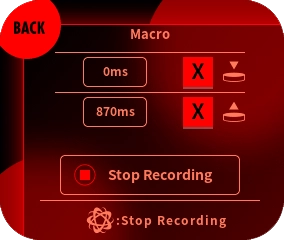
When recording a macro for the first time, the macro recording screen will open.
To start recording, press the EVOTOP button or the Start Recording button on the display.
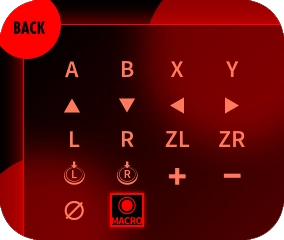
Enter the button to record the macro.
To end recording, press the EVOTOP button or the Stop Recording button on the display.
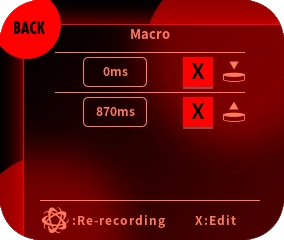
▼ If the macro has already been recorded
If a macro has already been recorded, the Recorded Contents Confirmation screen will open. In this screen, you can check the recorded macros, edit macros, and re-record macros.
- The following buttons can be used to record macros.
A/B/X/Y/+Control Pad/R/L/ZR/ZL/R stick pressed down/L stick pressed down/+ Button/- Button - The maximum recording time for one macro is 64 commands or 32 seconds of playback time.
- The minimum recording/playback unit for a macro is 10 ms.
Assigning macros to paddles
Registered macros can be assigned to paddles by selecting “Macro” for “M1~M4” in Mapping.
To record a macro, record the macro in the Recording Macro.
Select “Menu” -> Profile you want to set -> “Mapping”.
Select the paddle to which you want to assign a macro.
Select “Macro” from the list of inputs that can be assigned.
Editing Macros
Edit Macro” allows you to change the timing of button presses for recorded macros.
Select “Menu” → profile you want to set → “Macro”.
Select the paddle for which you wish to edit the macro and open the recorded contents confirmation screen.
Press the X button to open the macro edit screen.
Select the item for which you want to change the timing, and change the time by pressing the cross button.
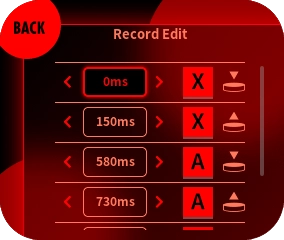
- The first button that plays after the macro is executed is always “0ms”.
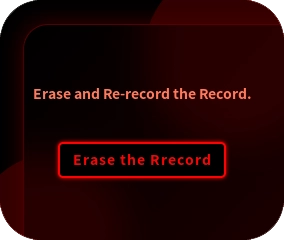
Re-recording a macro
Select “Menu” -> profile you want to set -> “Macro”.
Select one of “M1~M4” and open the screen to confirm the recorded contents.
Press the EVOTOP button or “Re-record” on the display.
Play Macro
▼ Playback a macro once.
Press the paddle of edited “M1~M4” once.
▼ Loop playback of macro
Press and hold the edited “M1~M4” paddle.
Tap the paddle that is playing the loop twice to end the loop.
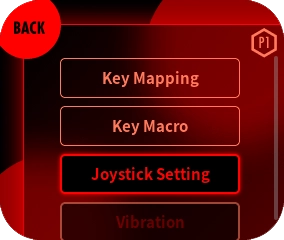
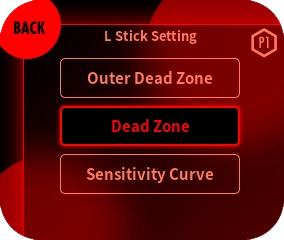
Joystick setting
In the joystick settings, the dead zone, outer dead zone, and sensitivity curve can be changed for each L/R stick.
Changing the outer dead zone of the L/R stick
Select “Menu” -> Profile you want to set -> “Stick”.
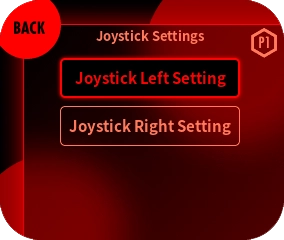
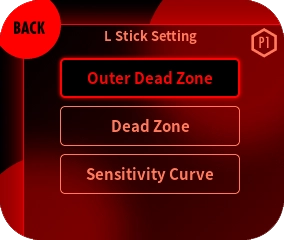
Select “L stick” or “R stick” → “Outer dead zone”.
Adjust the outer dead zone with the slider.
*The larger the slider value, the wider the outer dead zone.
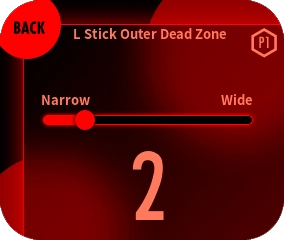
- The outer dead zone is a function that corrects the sensitivity when the stick is input at an angle.
- The narrower the outer dead zone, the less correction is applied, and the more sensitive the diagonal input becomes.
- Widening the outer dead zone increases the correction and decreases the sensitivity to oblique input.
- The default value of the outer dead zone is “2”.
Changing the dead zone of the L/R stick
Select “Menu” -> Profile you want to set -> “Stick”.
Select “L stick” or “R stick” → “Dead zone”.
Adjust the dead zone with the slider.
*The larger the slider value, the wider the dead zone.
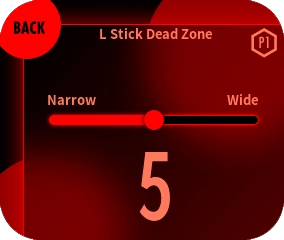
- The dead zone is a function to adjust the range where the stick starts to react.
- A narrower dead zone makes the input response faster, while a wider dead zone makes the input response slower.
- The default value of the dead zone is “5”.
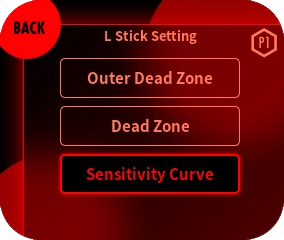
Changing the response curve of the L/R stick
Select “Menu” -> Profile you want to set -> “Stick”.
Select “L stick” or “R stick” → “sensitivity curve”.
Adjust the sensitivity curve with the slider.
*The larger the slider value, the more emphasis is placed on accuracy, and the smaller the value, the more emphasis is placed on response.
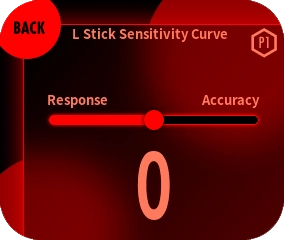
- The sensitivity curve is a curve that shows the change in input when the stick is tilted. By changing the response curve, you can adjust the sensitivity and accuracy of the input.
- If you set the stick closer to the “accuracy-oriented” setting, the response will be small when the stick tilt is small, and the response will be rapid as the tilt becomes larger.
- When set closer to the “Response Focused” setting, the response is greater when the stick tilt is small, and becomes smaller as the tilt increases.
- The default value of the sensitivity curve is “0”. When set to “0”, the curve is linear and reflects the stick tilt as it is.。
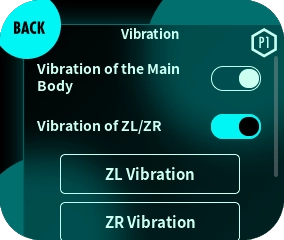
Vibration
The vibration setting allows you to set the vibration of the controller itself and the ZL/ZR buttons.
Changing the vibration setting of the main unit
Select “Menu” -> profile you want to set -> “Vibration”.

By switching the “Vibration of the main unit” switch, you can enable/disable the vibration.
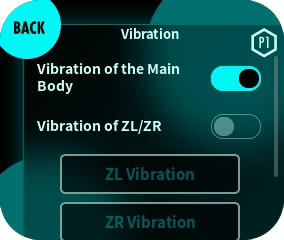
Changing the vibration setting of the ZL/ZR button
Select “Menu”->“Profile to be set”->“Vibration”.
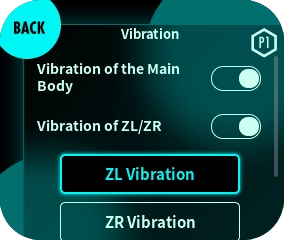
Toggle the “Vibration of ZL/ZR” switch to enable/disable the vibration.
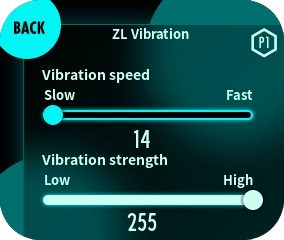
Selecting the “ZL Vibration” or “ZR Vibration” button will open the ZL/ZR Vibration detailed setting screen, where you can adjust the speed and intensity of vibration.
- In Switch-USB mode and Switch-Bluetooth mode, the vibration function is disabled.
- In PC-Bluetooth mode, the vibration function of the main unit is disabled.
- ZL/ZR button vibration is enabled only in PC-USB mode, PC-Bluetooth mode, and PC-UWB mode.
- When the ZL/ZR button adjuster is set to the shallowest setting, the vibration of the ZL/ZR button is disabled.